What to Test in Five Seconds With a Free AI Music Video Generator That Requires No Signup
Before you plan a full music video, give your first shot a question it can answer. For an instrumental teaser, that might be whether a light can brighten slowly enough to follow a rising note without the camera drifting. The test is small enough to judge in one sitting. It also gives you something concrete to change if the first take misses.
Disclosure: This guide is published by MusicMaker and includes our own tool. The lantern sequence and timing below are an illustrated exercise you can run with your own music.
Choose a shot with a clear pass condition
Imagine a track that opens quietly and swells into a sustained note. Start with the audio. Mark the part where you first hear the sound begin to rise and the point where it feels strongest. Those are two useful places to compare the picture with the music. If the rise occupies most of your excerpt, a gradual lighting change gives it room. If the rise feels sudden, you may prefer a cut to the brighter image.
For this example, hang an amber paper lantern above a dark wooden table. Keep the camera fixed and let the light inside the lantern grow brighter. The paper, the table, and the space around them should stay recognizably the same. Write a pass condition you could hand to someone else: “I can see the light rise while the lantern and the edges of the table stay in place.” If you have to freeze the image to tell whether it got brighter, the change may be too subtle for the teaser.
Choose where the teaser will appear before setting up the frame. In a vertical crop, check that the bottom of the lantern and some of the tabletop are visible. They give you two reference points when you review the clip. If the table edge slides or the lantern grows larger, you can spot the camera movement without guessing from the changing light.

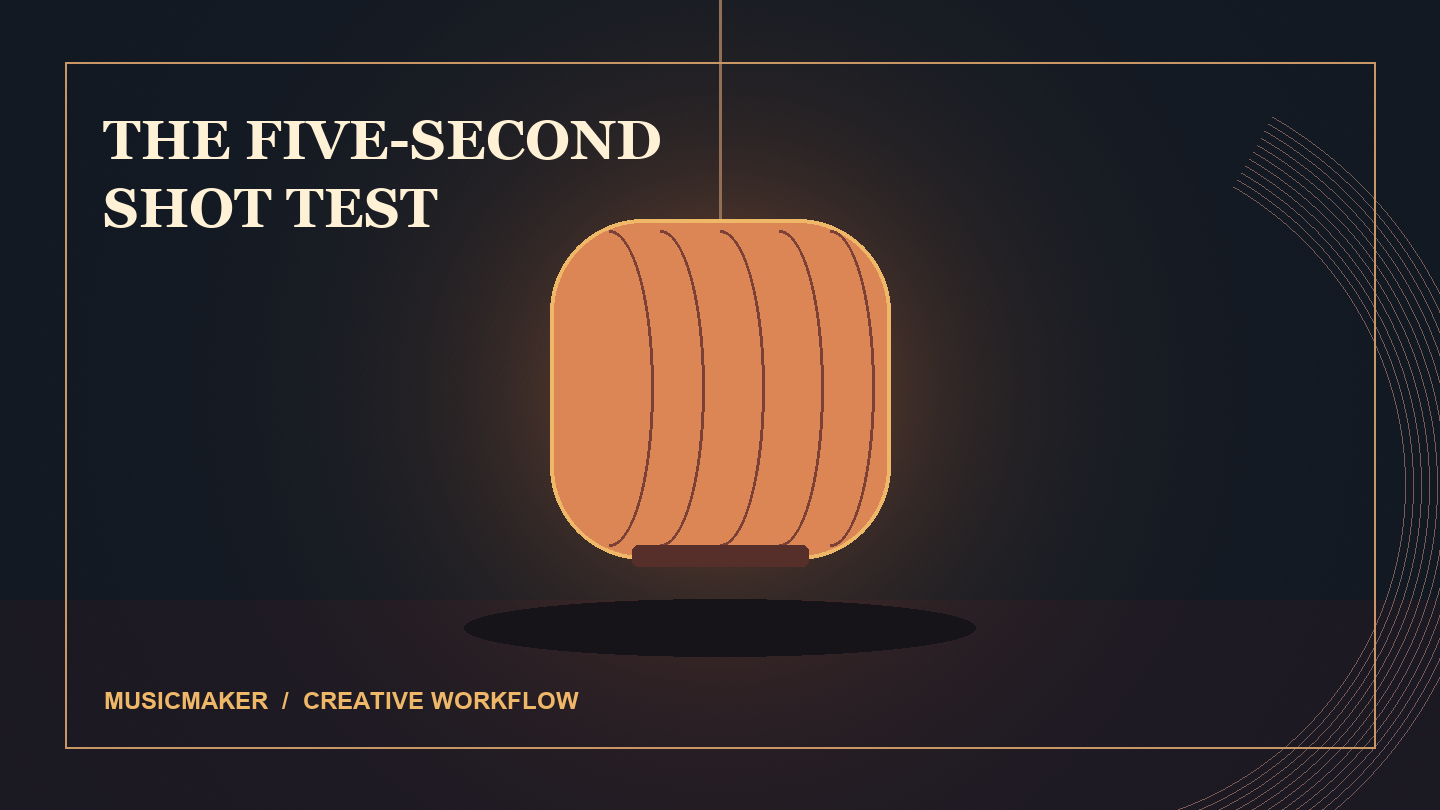
An illustrated test plan. The lantern stays in place and only its light changes.
Pick text or two frames for the first take
Start with text if you can accept different versions of the lantern and the surrounding room. Set the subject and framing first, describe the change, then name what should stay in place. A plain action is easier to check than a mood word on its own. This is one prompt you can try:
An amber paper lantern hangs above a dark wooden table. Fixed camera, centered lantern, stable shape. Over the shot, the light inside the lantern rises gently from faint to warm and bright. The tabletop and background remain still. No lettering or additional objects.
Use two frames when you care about the exact starting and ending composition. Duplicate a reference image you have permission to use, adjust the lantern light on the copy, and compare the two images side by side. If the lantern or the edge of the table shifts between them, line the frames up before submitting them. Changing the crop and the light together makes it harder to tell what the model was following. If your only reference is a single image and the exact composition can wait, the text prompt is a useful starting point.
The MusicMaker free short music video generator runs on MiniMax H3 and offers a text prompt or a pair of start and end frames. The free page lists five-second clips at 480p, with 9:16, 16:9, and 1:1 ratios. Pick your ratio, submit one request at a time, and preview the result before downloading a take. If the final edit needs a higher resolution, treat this clip as a way to test the idea and check the downloaded picture at the size you plan to use.
Review the whole clip before choosing a fix
Watch the first pass at normal speed and notice what draws your eye. If you see the room move before you see the lantern brighten, note roughly when it happens. On the second pass, compare the lantern outline and a straight line in the background, such as the table edge. A moving background suggests that the framing changed. A stationary background with bending lantern ribs suggests that the subject changed shape. Those two problems call for different revisions.

The frames are drawn examples. Watch the entire clip, then pause anywhere an unexpected change appears.
Decide whether to keep, trim, or retry the take. Keep it if the lighting change is clear and the framing holds. Try trimming if the image works until the final fraction of the clip and the usable section still covers the musical moment. Retry if a new object, a jump in brightness, or a distortion pulls attention away before the note peaks. Scrub across the problem rather than judging a single frame. A bright patch that flickers for several frames can draw more attention than it does in a still image.
Write down the input mode, ratio, prompt, and the first thing you would change. For example, if an otherwise useful take pushes in on the lantern, keep the framing description and strengthen just the instruction about the camera. If the camera holds but the change in light is hard to see, ask for a more visible difference between the opening and ending brightness. The tool page lists unlimited generations. A stopping rule still helps: once you have a clip that meets the pass condition, put it against the track before spending another round on variations.
Check the picture against the song in your editor
Download a candidate and import it alongside a copy of your song excerpt. Put the picture and music on separate tracks so you can slide the image without moving the audio. If the downloaded clip has its own sound, listen to it on its own first. Mute that track if it competes with the song you want the audience to hear. Keep the original song file separate from the edit so you can return to it for another version.
Start by lining up the most visible part of the light change with the marked musical moment. As a planning example, if the image becomes visibly brighter about three seconds into the clip and the note peaks four seconds into your excerpt, starting the image one second into the excerpt brings the two events together. Play through the start of the edit as well. If that leaves an awkward gap in the picture, try a still lead-in or choose a different starting point for the song. Listen before committing to the timing. Depending on the phrase, the image may feel more natural when the light begins to rise just before the note peaks.

Align the picture and your song in the editor. The marker is a planning example.
Watch once with the song and once with the sound off. With sound, check whether the brightening helps you notice the musical change. With the sound off, see whether the lantern still reads as the subject and the movement still makes sense. If you want to include a song title, place it on a separate layer and preview it at the intended viewing size. Move it if it covers the part of the lantern that tells the story.
Leave a note another editor can use
If someone else will finish the teaser, give them the selected file, the song excerpt, and a short note on what should line up. A useful note for this example would read: “Use the take with the stable table edge. Bring the first obvious rise in light in just ahead of the strongest note. Check whether the title covers the lantern when you export the vertical version.” The editor now knows what to preserve and where they can make their own call.
Keep one fallback alongside the selected take. That might be the brighter reference image held across the note, or the same clip cut just before the lantern changes shape. Compare the fallback with the moving version at the same volume and viewing size. If both communicate the same moment equally well, you can use the simpler one. If the gradual rise makes the note feel more deliberate, you have a reason to keep the motion.
Save the clip and your notes with the edit, even if you decide to use a still. A still that suits the song better is a useful outcome. The first shot has done its job when you know what the picture adds, what you can fix in the edit, and whether another generation would answer a question you still have.